
I’ve never been good with my hands. I remember trying pottery as a teenager, and my creations looked like a baby had smashed some clay into random shapes. So when I decided to try kintsugi, the Japanese art of repairing broken pottery with lacquer and gold or silver powder, I was a little worried about what I’d manage to make.
The class was a 2-hour private workshop at Utsuwa Omusubi HANARE, in Tokyo’s Omotesando area. I’d heard that the careful, repetitive work of kintsugi could feel like active meditation, and I was curious to try it. Though at that point, I was still wondering whether I’d leave with a beautiful piece of pottery or a disaster on my hands.
Some links on YavaJapan are affiliate links. If you book or buy through them, I may earn a small commission at no extra cost to you. It helps support the site, and I only link to places, stays, and experiences I genuinely think are worth recommending.
At a Glance
- The workshop: Utsuwa Omusubi HANARE, booked through Wabunka
- Time and place: 2 hours in Tokyo’s Omotesando area
- Format: A private class for your party, with an English-speaking host
- Your souvenir: A piece of pottery you repair yourself and take home that day, ready to use after 2 weeks
Why I Tried Kintsugi with Wabunka
If you haven’t heard of Wabunka, I highly recommend checking them out. They offer private cultural experiences and stays in Japan, working directly with artisans, artists, chefs, and other specialists. The experiences are for you and your own party, with an interpreter joining when the host doesn’t speak English. You get to spend time with someone who knows their craft and ask all the questions you want.
For non-touristy cultural things to do in Japan, I think they have the best selection. I work with Wabunka regularly as part of my job in the Japan travel industry, and they invited me to this kintsugi workshop.
I’d recently moved into a new apartment and was thinking about upgrading my cheap IKEA tableware, so I jumped at the opportunity. Despite my doubts about my own skills, I was ready to give it a go.
First Impressions: The Setting
I was already looking forward to the workshop when I saw it was in Omotesando. With its luxury shops, art galleries, and stylish buildings, it’s one of my favorite areas to explore in Tokyo.
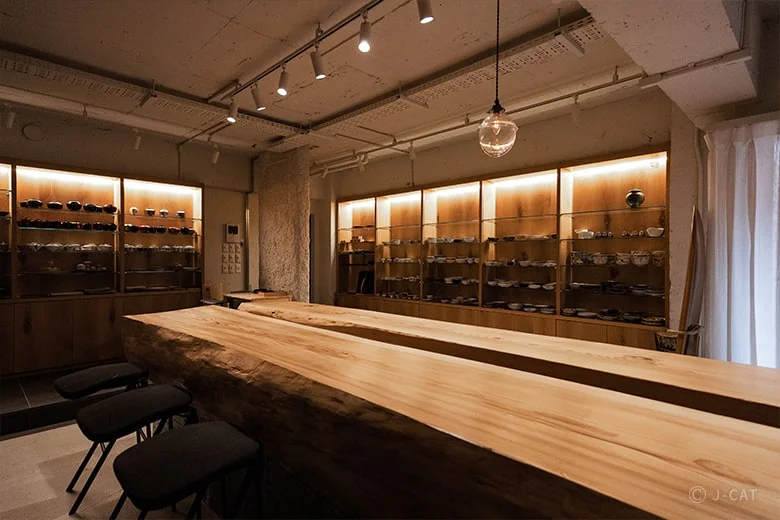
The class takes place at Utsuwa Omusubi HANARE, a beautiful gallery near the Utsuwa Omusubi pottery shop. The shop is run by a wholesaler founded in 1896. If you love ceramics, I recommend visiting it too. Being surrounded by pottery made the gallery such a lovely setting for learning how to repair our own pieces.
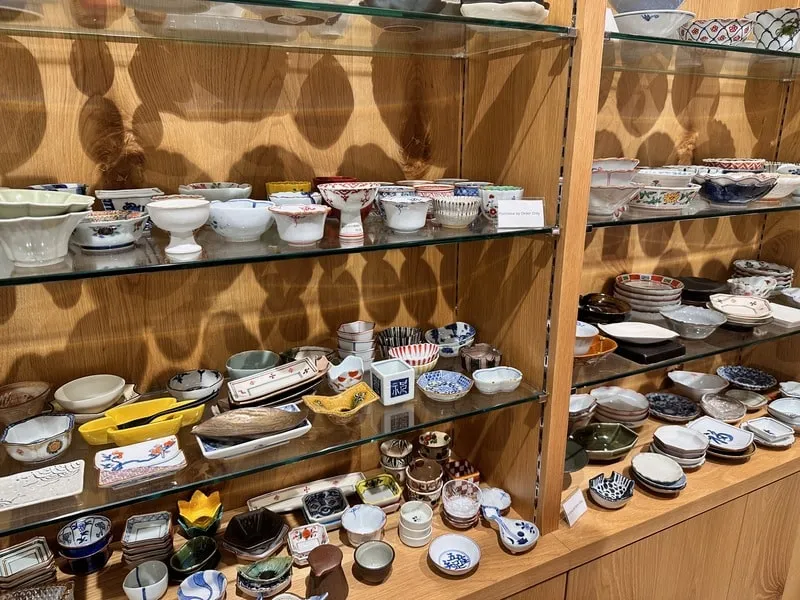
Our instructor, Aya-san, greeted us in a beautiful kimono and warmly showed us around. Looking at all the pottery on display, I hoped I’d manage to make something I could be equally proud of, despite my lack of skills.
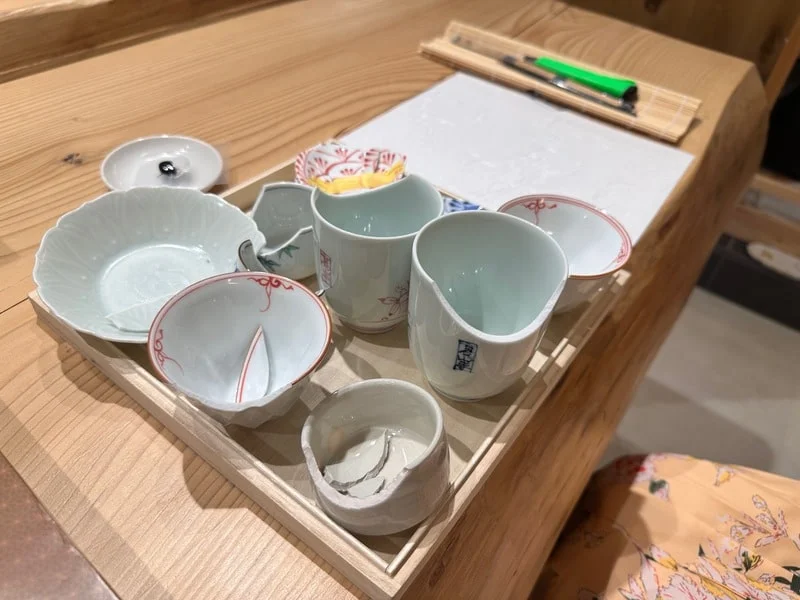
We soon sat down at a gorgeous wooden table, honestly the nicest I’d ever seen, to choose the pottery we wanted to repair.
My Kintsugi Experience, Step by Step
Choosing a Piece of Pottery
If you’re coming as a couple or family, I’d recommend choosing the same item in different sizes or colors. Aya-san explained that blue and red tableware is often paired for men and women, and the blue pieces in our selection were a little larger than the red ones.
I was there with a friend, so I chose the red cup I thought would be perfect for my after-lunch coffee.
Gluing It Back Together
We started by sanding the broken edges under Aya-san’s gentle guidance. Then we mixed the glue ourselves, though she’d already measured everything out for us. I applied it to the broken area and pressed the pieces together.
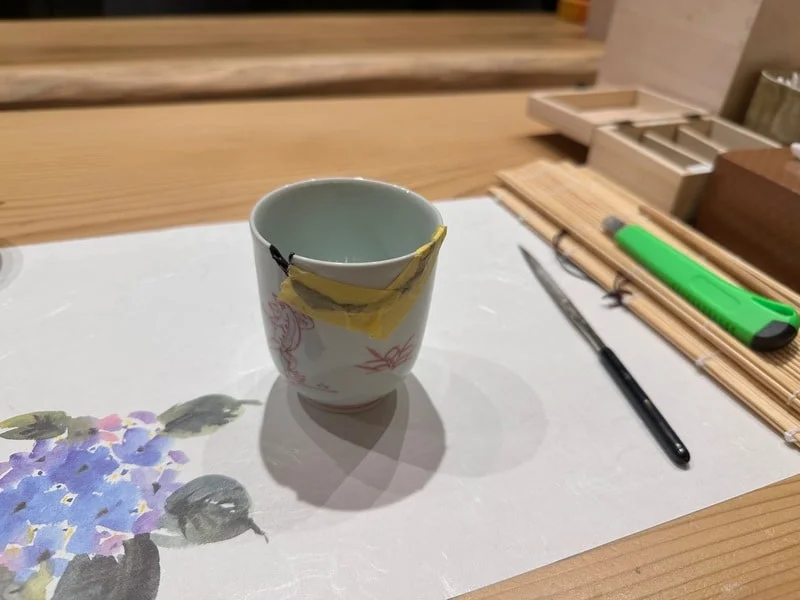
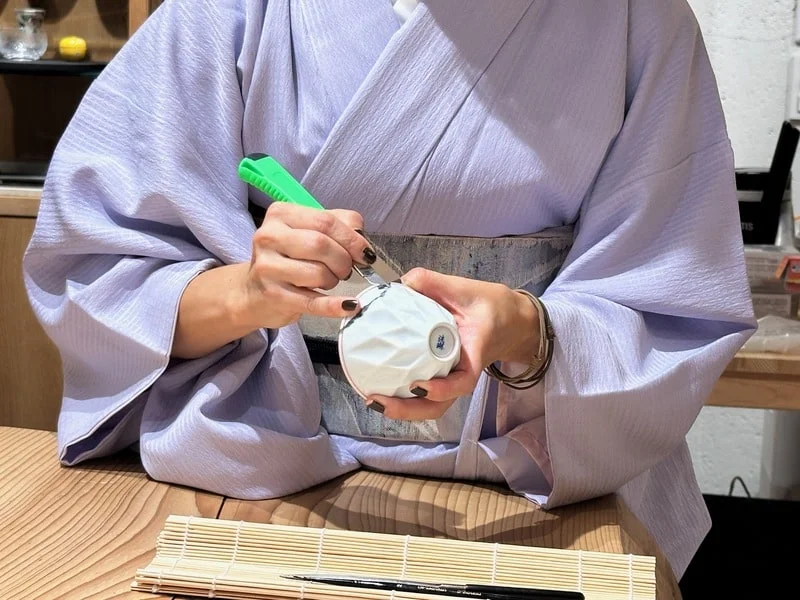
Once the glue had set, Aya-san showed us how to remove the excess with a small knife. She made it look so easy, but getting the pressure right was surprisingly difficult. After a few tries, and some help from her, I finally got it and managed to clean up the join.
Filling the Gaps and Sanding
By then, I was wondering what happened when a piece was missing altogether. Gluing the fragments back together made sense, but how could we fill a hole where there was nothing left to join?
Aya-san showed us how to use putty to fill those gaps. At first, it left a rough little bump sticking out of the cup, which didn’t look much like it belonged there. She explained that we’d smooth it down with tiny pieces of sandpaper once it had hardened.
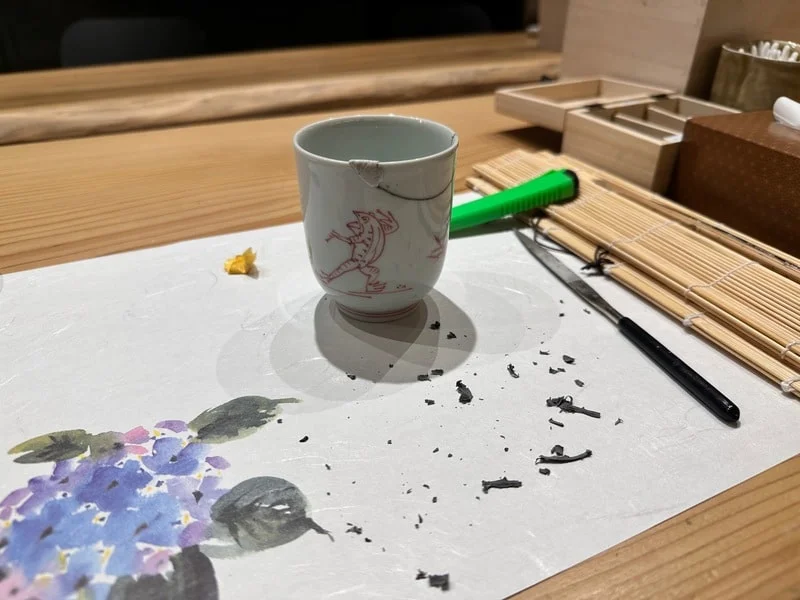
While we waited about 15 minutes for it to set, Aya-san told us about the history of kintsugi, different techniques and lacquers, and the philosophy behind the craft. We talked about wabi-sabi, the appreciation of imperfection, which is closely associated with kintsugi. Repairing a damaged piece gives you a chance to see beauty in something you might otherwise throw away.
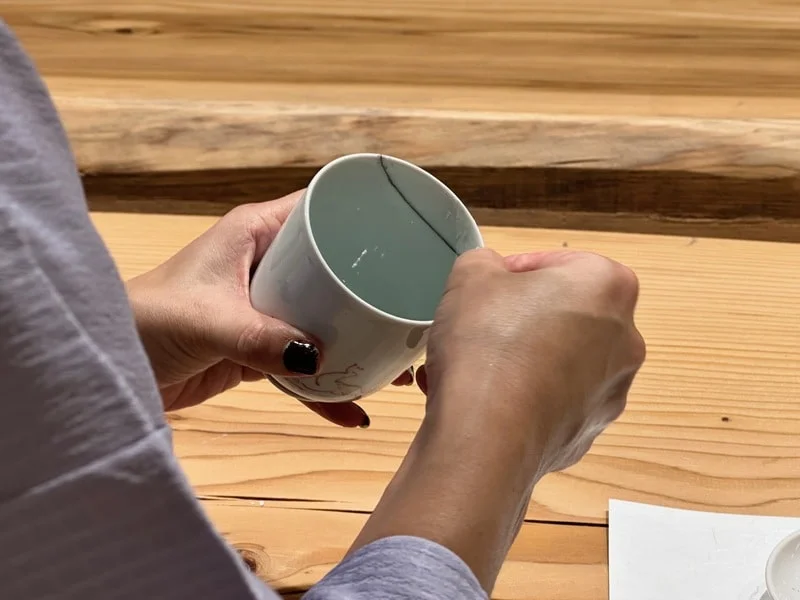
Then we began sanding the putty until it was level with the ceramic. This took the most time, but it was also when I understood what people meant by active meditation.
The movements were simple and repetitive, and I became completely absorbed in them. Every so often, I’d run my fingers over the cup to feel how much of the bump was left. With each pass of the sandpaper, it grew smaller, until I could no longer feel where the putty ended and the ceramic began. I hadn’t noticed the minutes passing, and it was so satisfying to feel that smooth surface at last.
Finishing Touches: The Lacquer and Gold
With the surface smooth, we were ready to cover the repairs with lacquer and add the gold. Using a fine brush, I carefully painted the cracks and putty with deep red lacquer, then wiped away the excess with damp cotton swabs.
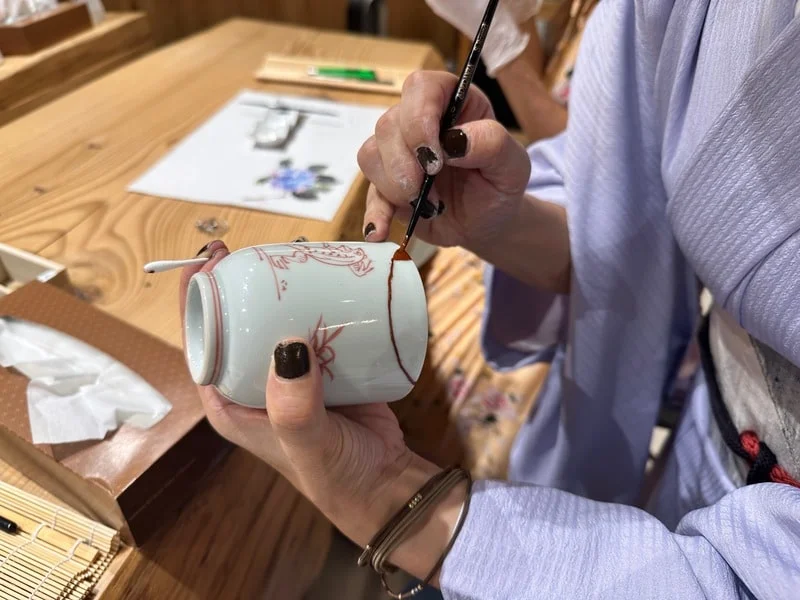
While we waited for the lacquer to be ready, Aya-san served us traditional Japanese sweets and hot green tea. We chatted about her experiences and the history of the shop, and she shared more tips for future projects.
For the final step, she offered us a choice of silver or gold powder. I went with gold, thinking it would look perfect with the red patterns on my cup.
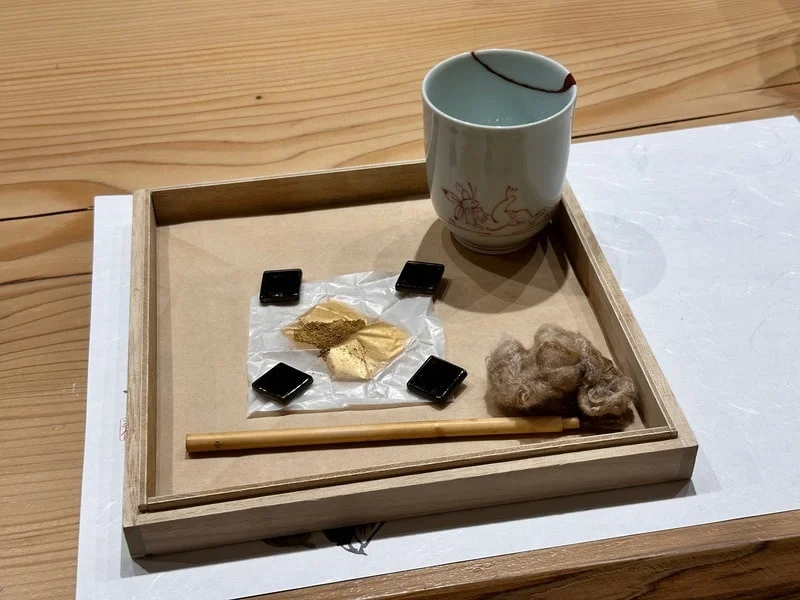
Applying the gold was simple, but incredibly satisfying. I dipped a small ball of wool into the powder and gently brushed it over the lacquer. The powder clung to the repaired areas, and watching the red lacquer gradually disappear beneath a shimmering layer of gold was mesmerizing. After all that careful work, I finally had my own finished piece of kintsugi in front of me.
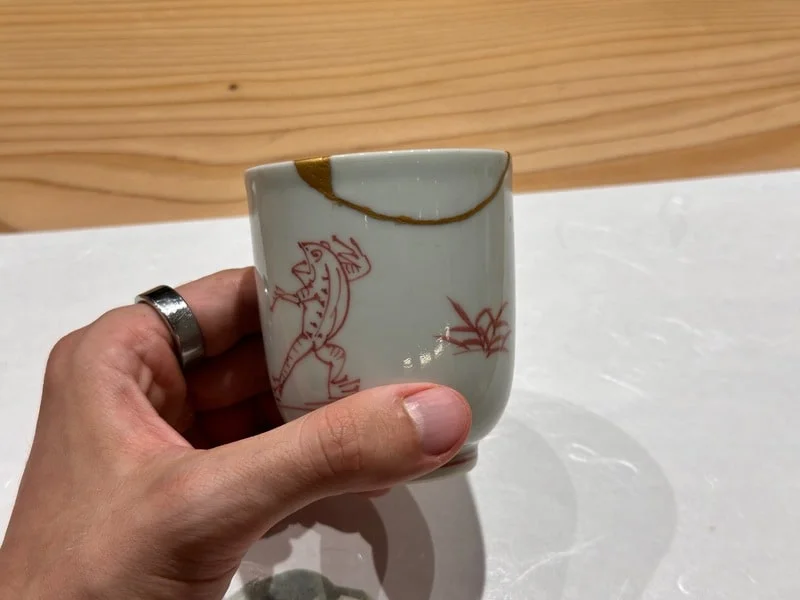
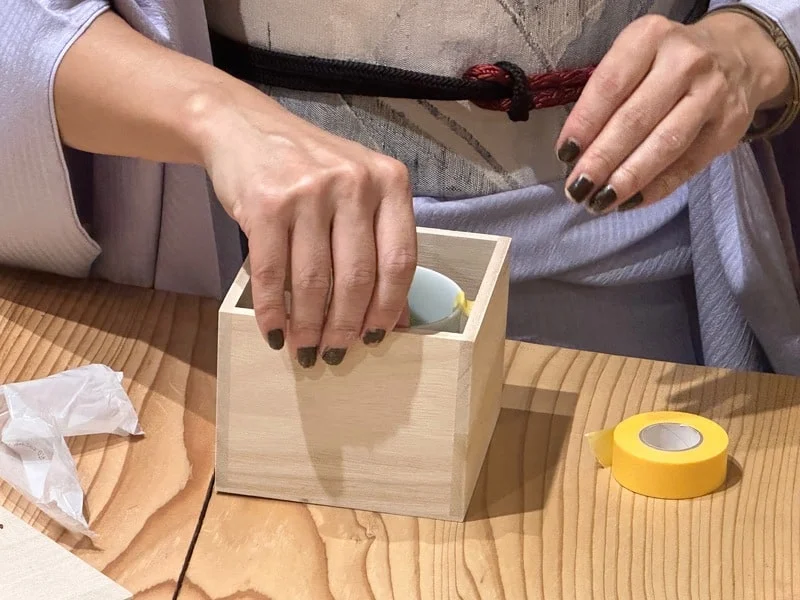
The 2 hours had flown by. Aya-san carefully packed our pieces in sturdy wooden boxes for us to take home. The box helps protect the cup in your suitcase, which is reassuring if, like me, you worry about bringing fragile ceramics home.
After saying our goodbyes, I proudly headed home, already thinking about where to display my new cup for everyone to see.
Why I Recommend This Workshop
I absolutely recommend this experience. Learning directly from Aya-san in such a beautiful setting made it a visit I’ll remember, and I loved leaving with something I’d repaired myself. The cup felt much more personal than a souvenir I’d simply bought in a shop.
The private class also gave us plenty of time with Aya-san. We could ask questions as we worked and get her help whenever we needed it. Considering how nervous I’d been about my abilities, I was delighted with what I’d managed to make.
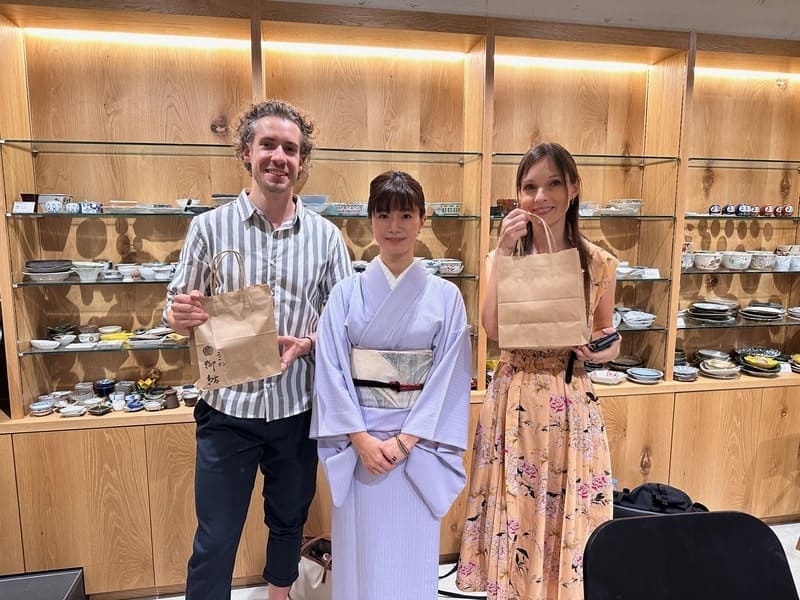
The only problem is that now I want to replace all my plain IKEA plates with something to match my new cup.
This is an expensive workshop, but I think it’s worth paying more for the private lesson, Aya-san’s attention, and the beautiful setting.
Booking and Bringing Your Piece Home
You can choose a piece at the workshop or bring your own broken pottery. If you have something you’d love to repair, send a photo and its dimensions when booking so the host can check whether it’s suitable. The standard finish is silver, with gold available for an extra charge.
Although you take your piece home that day, wait 2 weeks before using it and follow the drying instructions you’re given. Afterward, wash it gently by hand and keep it out of the dishwasher and microwave. The class uses urushi (natural Japanese lacquer), which can irritate skin, so gloves are provided.
The workshop welcomes participants aged 12 and over, with an adult guardian required for under-18s. Groups can have up to eight people, and solo bookings carry a minimum charge for two. Check the price for your party and the meeting point when booking, as the HANARE gallery is separate from the pottery shop.
For more on trying kintsugi in Japan, you can read my guide to kintsugi workshops in Tokyo and Kyoto. If you’d enjoy making another souvenir, I also wrote about my chopstick-making experience at Mogami Kogei in Tokyo.
Comments are closed.